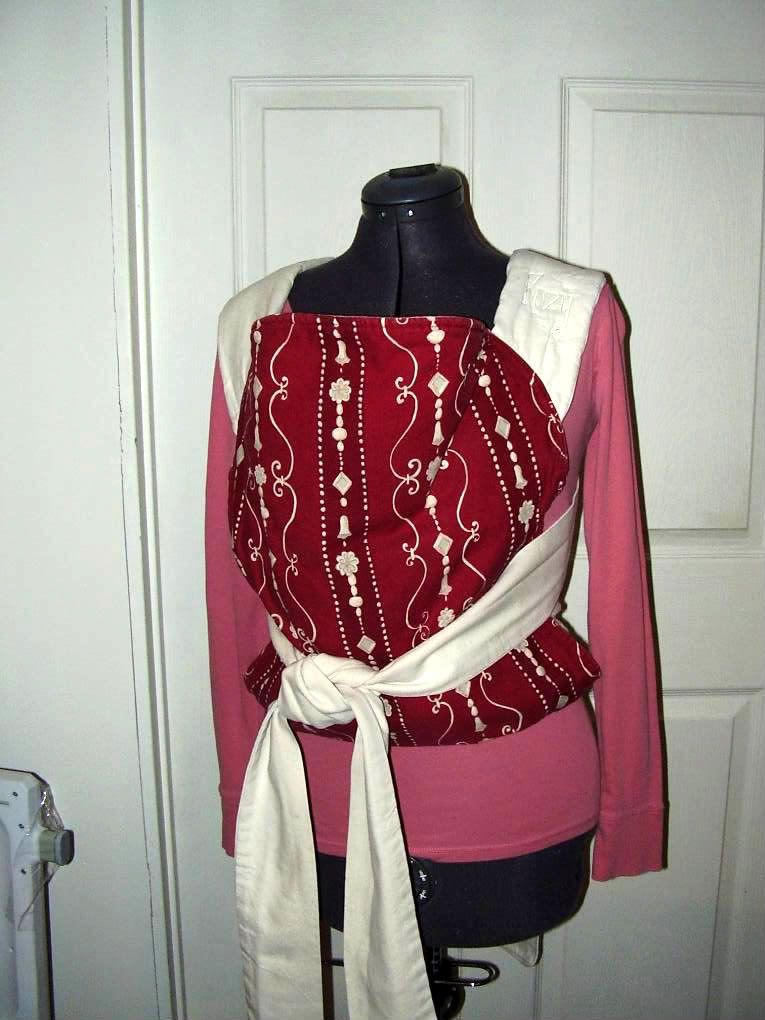
My Kozy mei tai is beginning to look a bit faded from washing, so I decided to spruce it up a bit with the slipcover. For those of you who want to try this yourself, I'll walk you through step-by-step.
There is, of course, easier ways to do this than making a pattern. You could just lay the carrier down over a piece of square or rectangular fabric, pin where you want to sew, and go. But my goal was to make a commercial quality pattern that I could use to do multiple slipcovers and know it would come out well. I also realized halfway through that I could use this pattern to make a whole new mei tai; all I had to do was add straps.
You could, of course, use this tutorial to make a slipcover for a carrier other than a Kozy, though I have not yet determined how to slipcover a buckle tai. When I get my Dream Carrier in the mail this week, I’ll have to take a look, and eventually modify the instructions to accommodate the waist strap.
The first section will walk you through making a pattern. The second will walk you through the sewing and creation of the slipcover. Happy sewing!
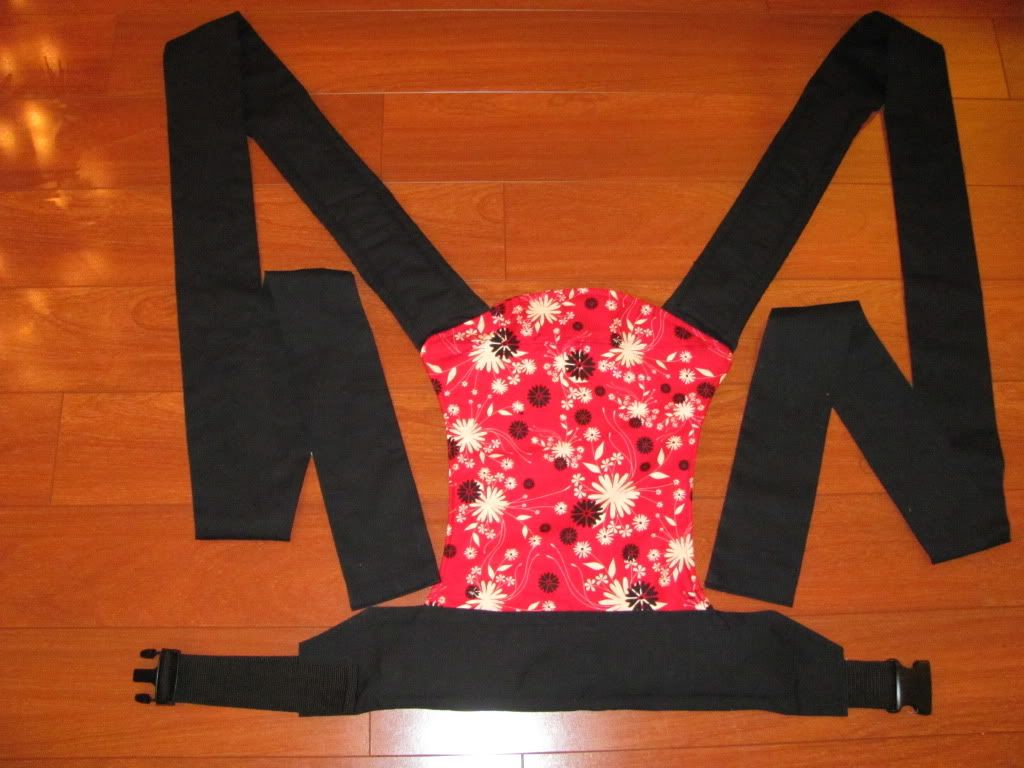
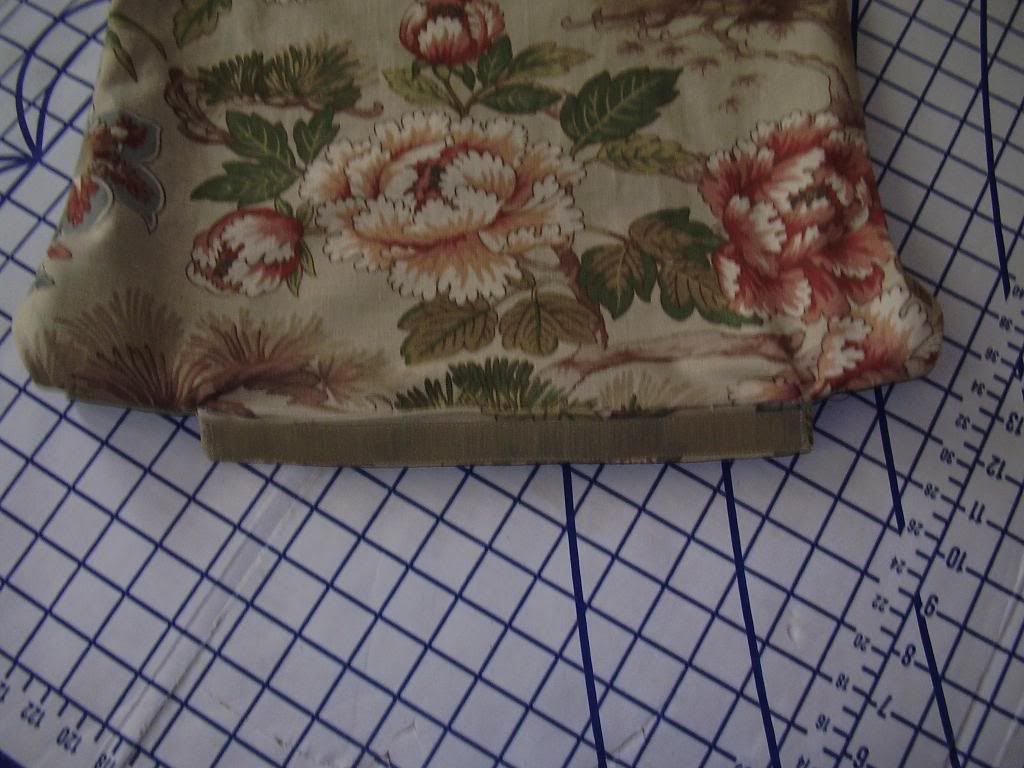
BEFORE:
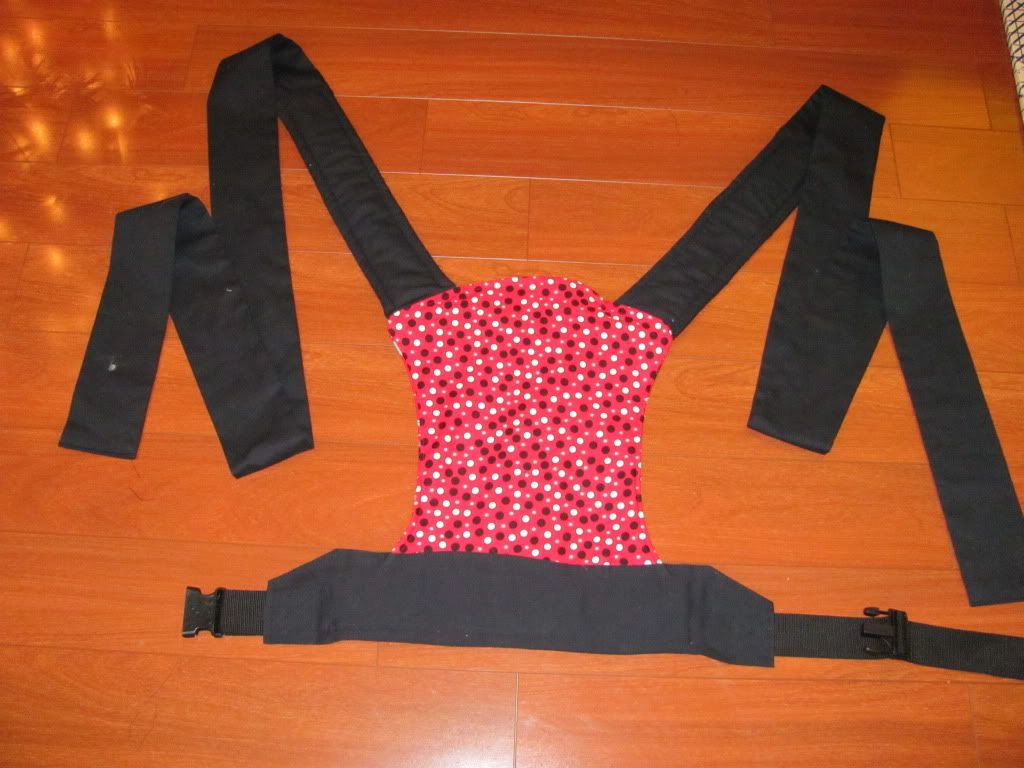
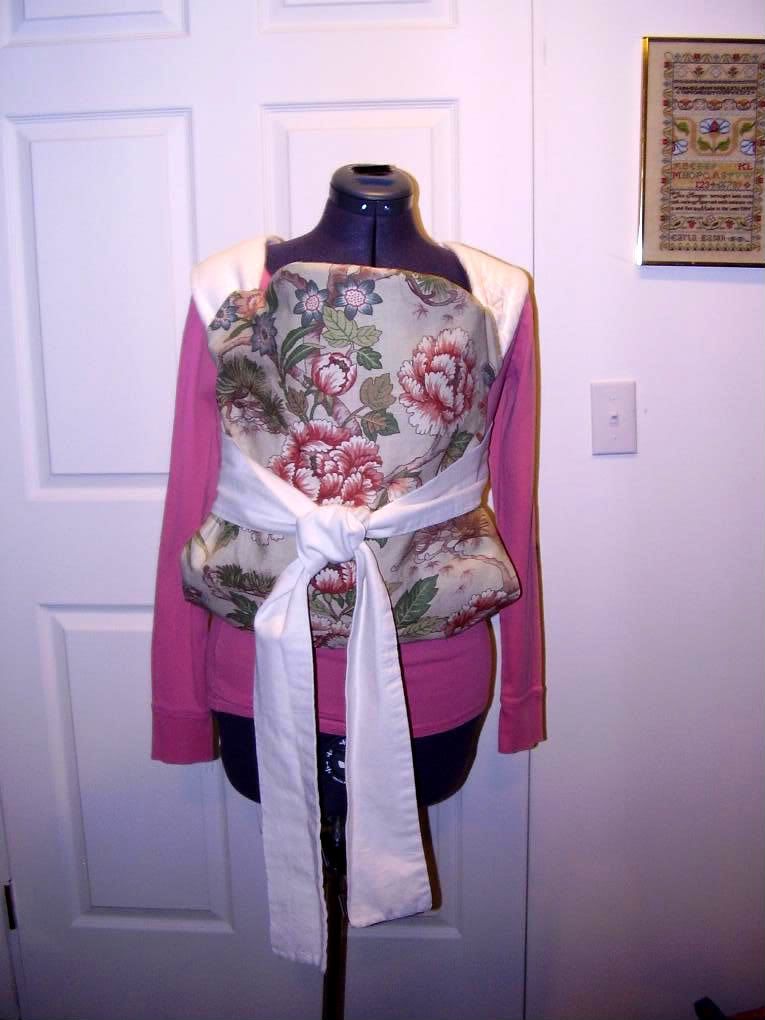
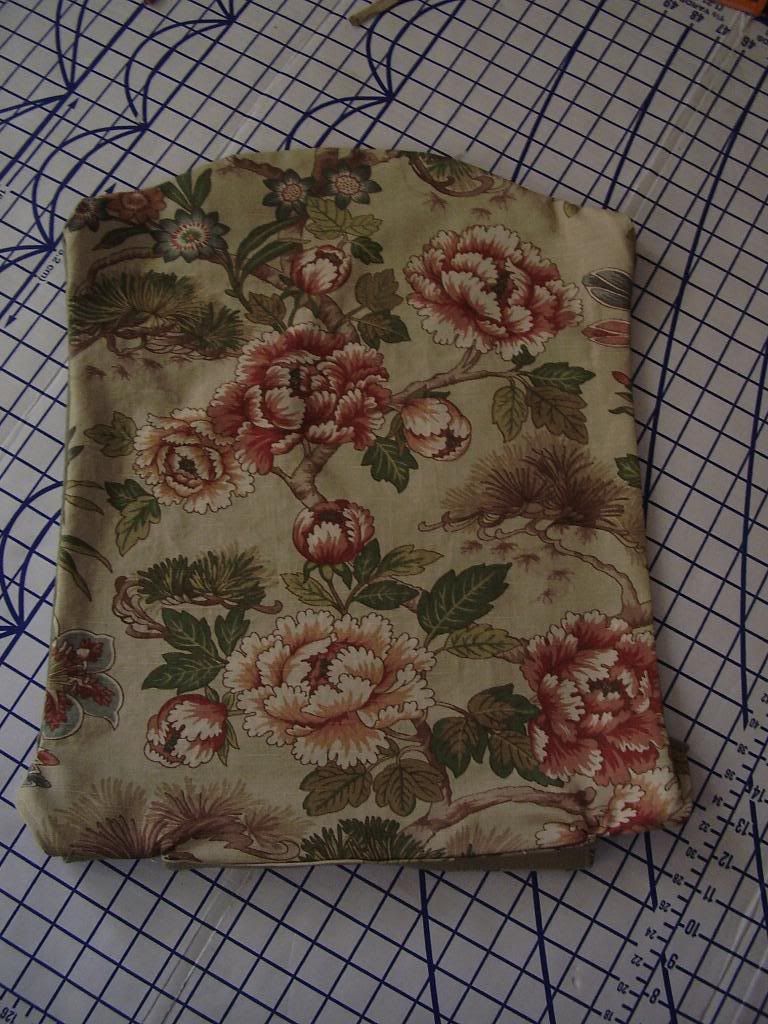
AFTER:
MAKING A PATTERN
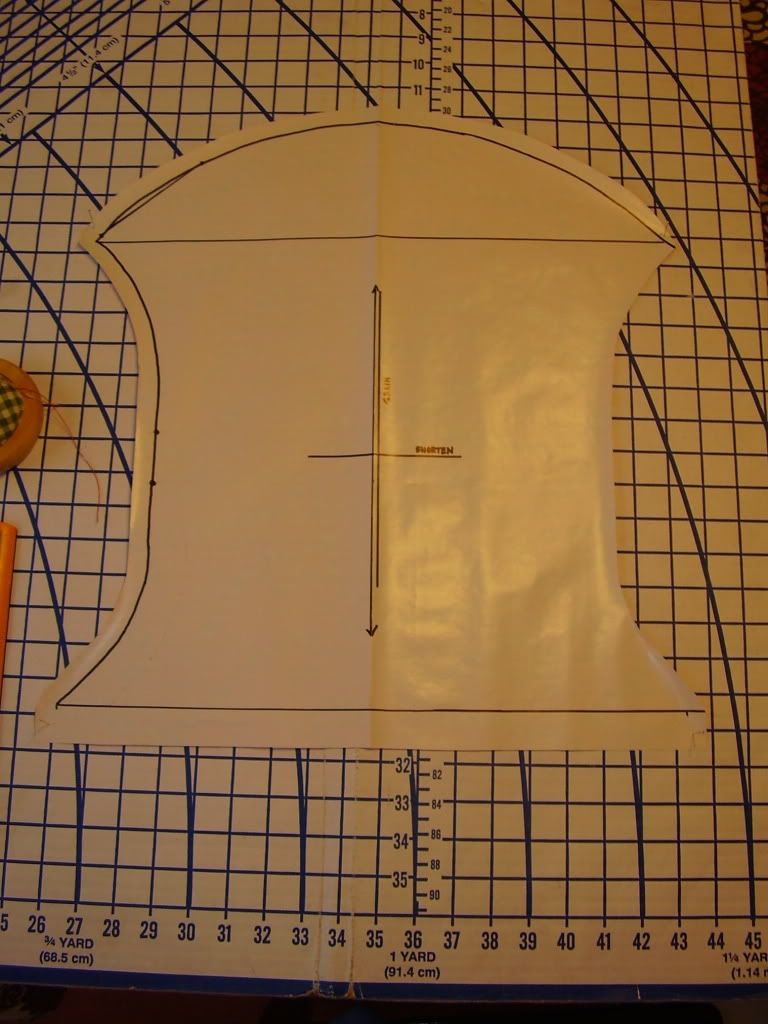
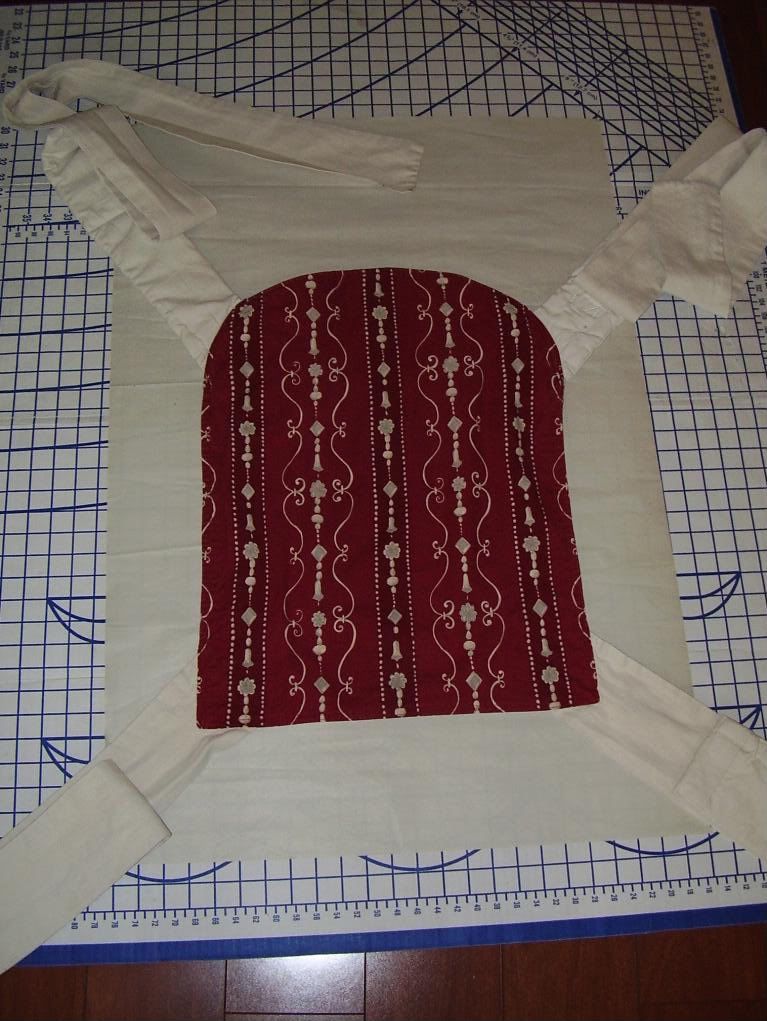
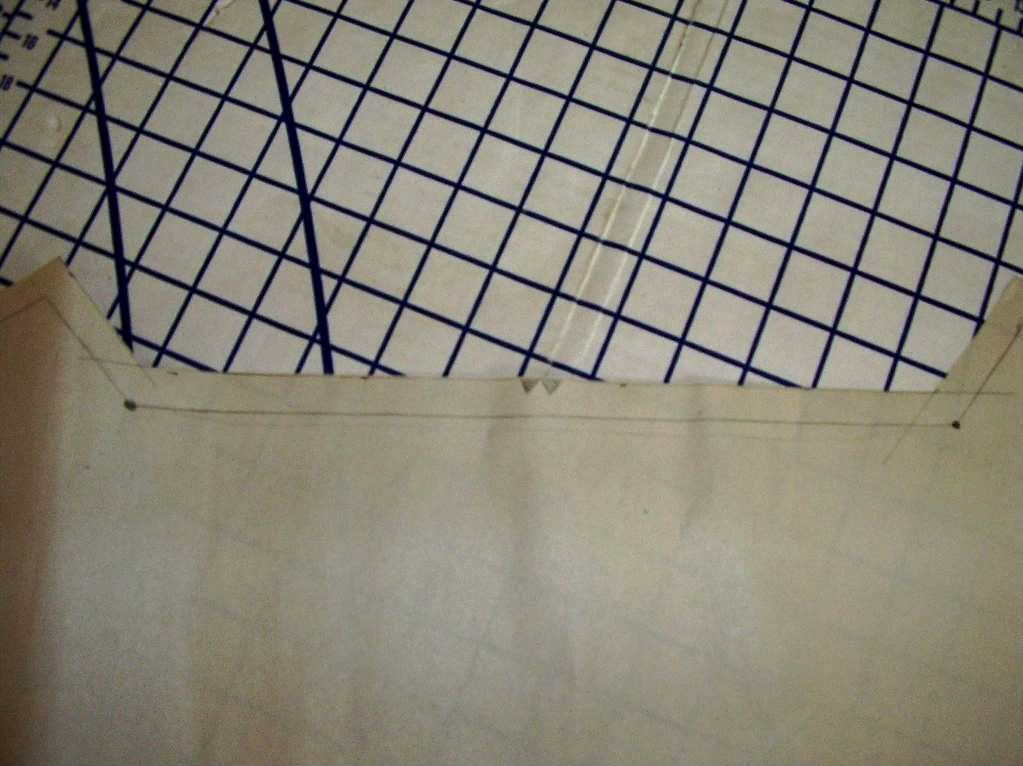
1) Choose your paper to make a pattern. I like plain newsprint, since it’s easy to work with, heavy enough not to rip, and easy to pin, but you can use kraft paper, butcher paper, even a paper bag cut open flat. Lay the carrier right side up on the paper and trace the outline of the carrier body. Decide how far you want the slipcover to go up the straps and add 1 inch… that’s how far you should extend your lines up the straps. Remove the carrier and use a ruler to make all your lines straight, even, and dark.
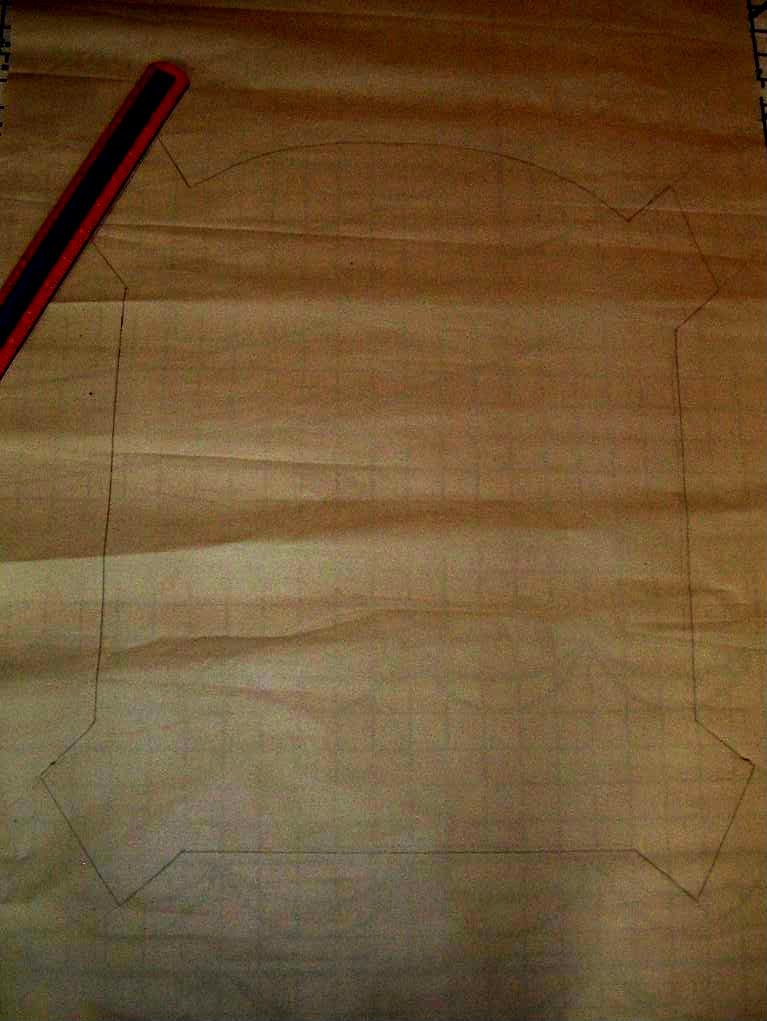
2) Next, decide what seam allowances to use. I used 1/2”. Use your ruler to measure and mark 1/2” outside the drawing all the way around, and use the ruler to connect the dots.

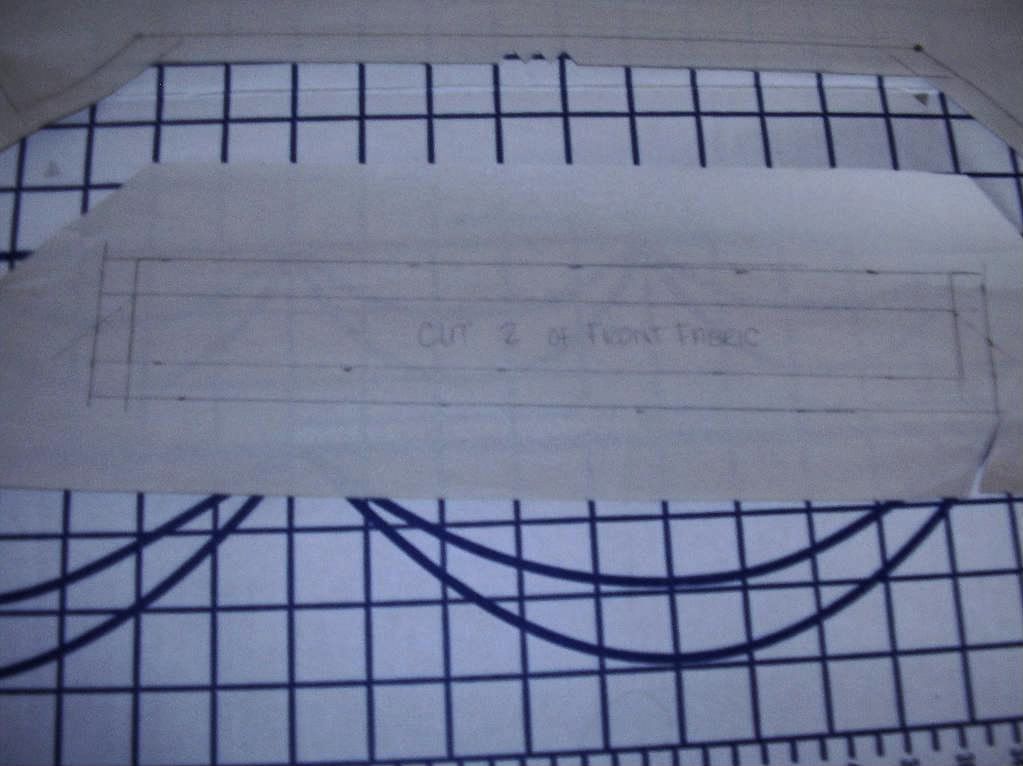
OPTIONAL: Mark notches on both sides and bottoms (using 1, 2, and 3 notches) to help you match up both sides of fabric. If you’re a sloppy cutter like me, this is essential to getting the pieces to line up properly.
3) Cut out your body pattern, including notches.
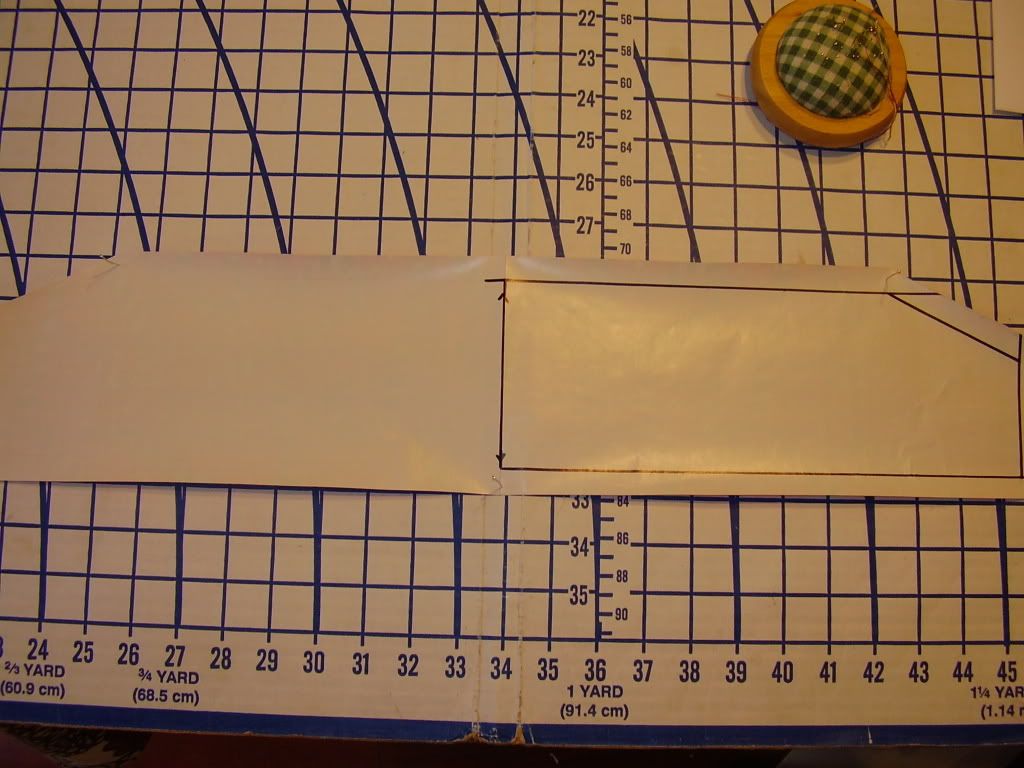
4) I decided that, in addition to two sides of the cover, I wanted a flap that would tuck around the bottom and Velcro the opening shut. Make a rectangular pattern the width of the straight bottom part of the carrier. How long it is depends on your seam allowance and the width of your Velcro. I used a 1/2” inch seam allowance and 3/4” velcro, therefore, I cut the pattern piece to 1 3/4” inches. If you want, cut matching notches.
CUTTING AND SEWING YOUR PATTERN
5) Now lay out your fabric and prepare to cut. You will want to wash, dry, and press the fabric before cutting, since it can shrink if it’s washed after sewing. Because you traced the carrier outline face up, you will want to place the body pattern face up the right side of your outer fabric. Pin and cut, including notches.
Lay out your lining/inside fabric right side up, and place your pattern face DOWN. This will insure that all notches match up. With factory made carriers, it may be possible to just cut both face up; however, most handmade or semi-handmade carriers are not symmetrical, so it’s very important that you cut the pattern from the correct side of the fabric.
Cut 2 of the flap pattern, preferably through two layers, folded right sides together. This will make sure that any notches will line up with the body of the carrier.
6) Press and pin seams on both front and back body pieces. Because I chose a 1/2” rolled seam on the strap channels, I folded over 1/2” and then another 1/2”, and pressed. Press and pin up the bottom opening seams by your chosen seam allowance, in my case 1/2”.

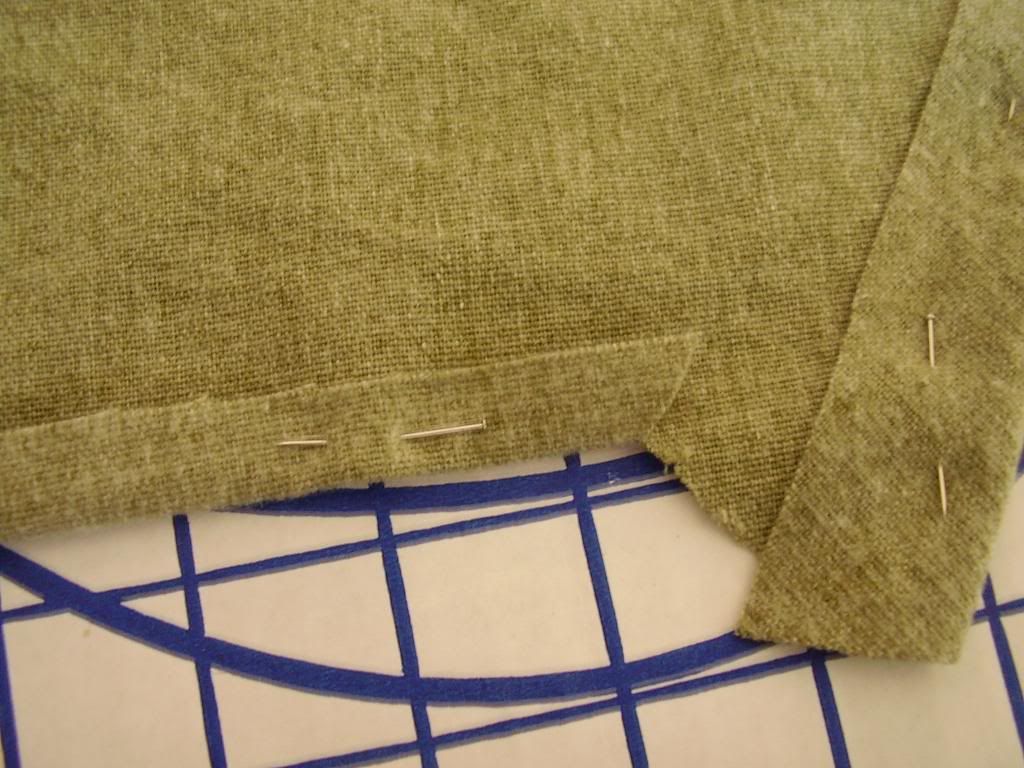
7) Stitch all strap channel seams and bottom seam on back panel. Do not stitch bottom seam on front panel yet.
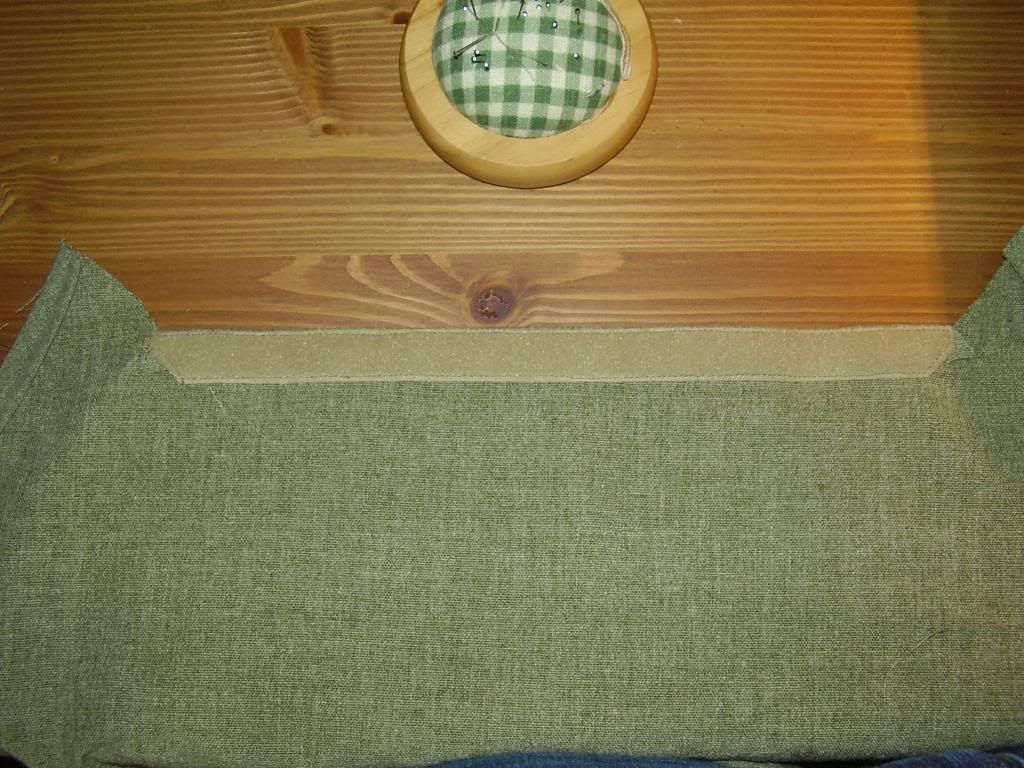
8) Cut a piece of loop velcro to fit the width of the bottom back panel seam. Pin to the WRONG side and sew around all four corners of the velcro.
9) Fold over and pin seam allowances on the BOTTOM long edge (unnotched edge) of the flap pieces. Press, then sew.

10) Pin together flap pieces, right sides together. Sew around the 3 sides that have not been hemmed. Clip corners and grade seams to reduce bulk. Turn inside out and press.
11) The next part is the tricky part. Sandwich the pressed over seam allowance on the bottom of the front piece between the flap pouch. This means your raw edge will be placed in the middle of the pocket, with right sides of the pocket facing out. Pin and stitch.

12) Lay front panel out, right side up, with the pocket below. Pin the hook Velcro across the front of the flap. It looks different in the picture below because I sewed the Velcro last, after the cover had been assembled.
Pin right sides together and stitch all the way around, being sure not to close the strap channel openings. Clip strap channel corners within seam allowances. Turn right side out and press.
14) Insert your carrier, threading the top straps through the strap channel openings first. Then insert bottom flaps, smooth out carrier inside, and tuck velcro panel around the carrier to fasten on inside of back panel.
You’re done!